Obviously, a huge vegetable harvest is better than a sparse yield, but overabundance does pose its own problem. Namely, what do you do with all those vegetables? You could hand them out to neighbors--and wait in vain for them to repay the favor. Here's a more selfish, and delicious, solution: Set up a home canning operation. Here's the process.
Step 1. Get a steam-pressure canner that's large enough for the amount of canning you intend to do. Also, get pint- or quart-sized glass jars designed for canning.
Step 2. Thoroughly wash and rinse the glass jars, lids, the rubber rings and metal bands that secure the lids; add some bleach to the wash water to disinfect. This is a crucial step, because the entire success of the canning procedure rides on avoiding any contamination.
Step 3. Select fresh, unbruised vegetables and wash them several times. Pack them into the jars and pour in boiling water. Fasten the lids securely, making sure there are no air gaps around the seals. For exhaustive details on procedures for specific vegetables, visit [http://www.foodsafety.org/can4.htm].
Step 4. Use a jar lifter to place the jars onto the pressure canner's rack. Fill with water until the water is 3 inches above the tops of the jars. Get the steamer going and wait for it to start steaming. Steam for ten minutes, then shut off the steam by either closing the petcock or dropping the weight gauge into place. Wait for the pressure to hit 10 pounds (at most six minutes, but usually less).
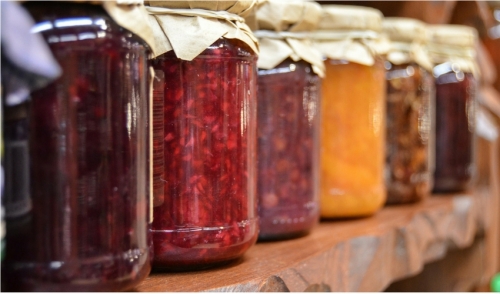
Step 5. Once the prescribed time for the vegetable you've chosen to can has passed, stop the heat, allow the steam to escape and wait for the pressure to hit zero. Use a jar lifter to put the jars on a cooling rack. Let cool for a day. After that, rotate the jars and check for leaks. Store them in a cool, dark, dry space--for some cold day in winter.